

http://amzn.to/2jZtD2wWant to make unique coasters for a personalized gift? Here’s the best way I’ve found to make water-resistant, glossy photo coasters.
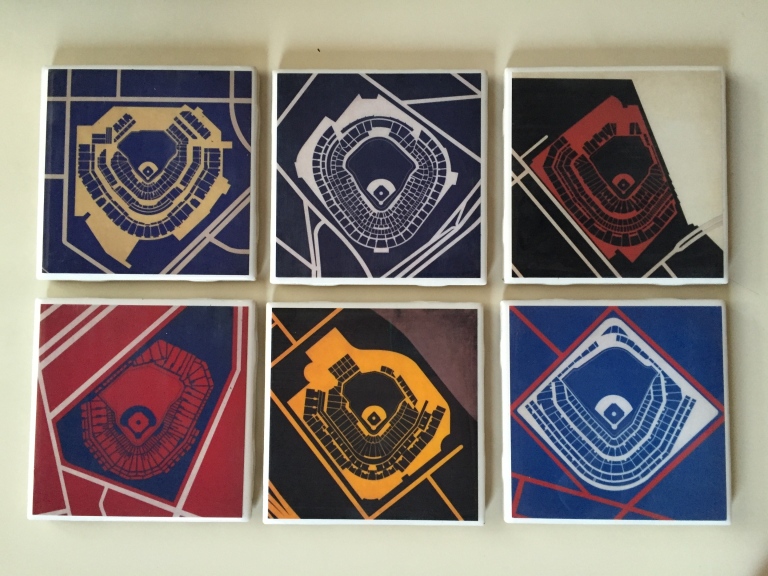
Photo coasters have gotten pretty popular, and I’ve read several different ways to make them. To see the most common, quickest, and cheapest way to make photo coasters, read my post Make Beginner Photo Coasters detailing my first attempt at making photo coasters. That procedure uses Mod Podge, but the photos begin to fade over time, the coasters retain a tacky texture and cups slightly stick to them, and coasters aren’t completely waterproof or heatproof.
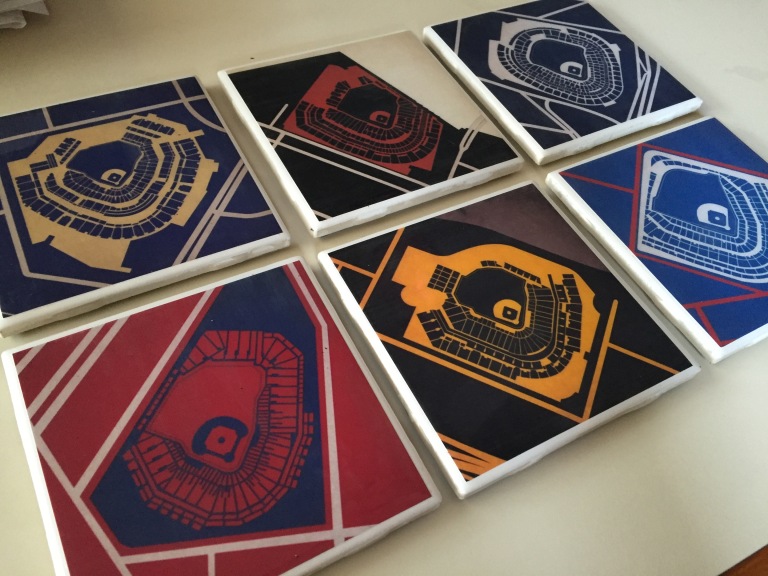
After a lot of research I found a better way to make them, that creates a thick, glossy, durable layer over the photos, and makes coasters both waterproof and semi-heatproof. The tiles look SO much nicer this way and don’t have streaky layers like they do with the Mod Podge procedure. This procedure is a bit more pricey and time-consuming, but I definitely recommend it if you want your coasters to last awhile.
I made these coasters of 6 different baseball ballpark blueprints. Can you guess which ballparks they are?
I found this awesome blog called Homemade Gifts Made Easy that gave a great detailed description of how to make these coasters, full with step-by-step pictures. Take a look!
Homemade Gifts Made Easy – How to Make Coasters
WHAT YOU NEED:
-Square 4″x4″ photos- You can have 4″x 6″ photos developed and then cut them to squares, or have them printed as squares. I found that Walmart Photo Center actually has 4″x 4″ photos as an option, which was very convenient and skips the cutting step. I found these ballpark blueprints through a thorough investigation online- you can use home photos, stock photos, pretty scrapbook paper, or really anything you want your coasters to display! Here’s the 6 ballpark pictures I used, feel free to use them for your own coasters:


Petco Park, PNC, Wrigley Field, Fenway Park, Yankee Stadium and AT&T Park
-4 1/4″ Square Tiles– I bought plain white tiles from Home Depot for about 75 cents each.
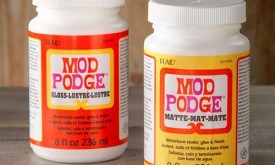
-Mod Podge- You can get a bottle for about $4 at Michaels or Joanns. Choose your preference of glossy or matte finish – I used glossy, but for this procedure it doesn’t really matter which one you choose.
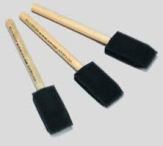
-Paint Brush- I suggest using a cheap sponge brush, which you can find at Michaels or Home Depot, but a bristle brush will also work.
-Sticky Felt- This is for the bottoms of the coasters. Choose whichever color you want and buy enough to cover the bottoms of your tiles. I bought sheets of felt with sticky backs at Michaels for $1.
-Disposable plastic cups- One per tile.
-Disposable stirring stick- I used a popsicle stick.
-Rubber gloves- For safety.
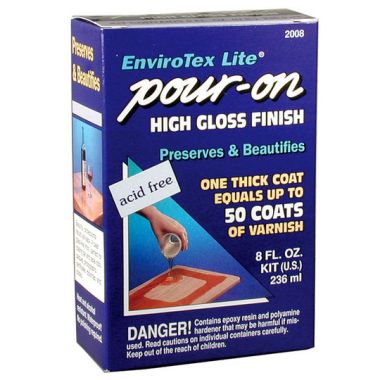
–***Envirotex Lite Pour-On High Gloss Resin*** – THIS IS THE SECRET MAGIC INGREDIENT that makes the HUGE difference in your coasters. It is a bit pricey, at about $15 for a box, which ends up coming to about $1 per coaster. (Use your Michaels coupon!) I found this in the glue section of Michaels, near the Mod Podge. It comes with 2 bottles that you have to mix together to use. Follow the directions on the attached post carefully and accurately to achieve the best results. And be careful not to touch the gloss with your skin! Wear gloves!
[Disclosure: This post contains affiliate links, which means if you purchase an item from one of my product links I receive a small commission for directing you there, but your cost does not increase. However, I only recommend products that I would purchase myself, and at the lowest prices I can find for you. Thanks for supporting my blog!]
Here are the Amazon links if you’d like to save yourself a trip to Michaels:
4oz kit (enough for ~8 coasters) ($8): http://amzn.to/2lkYLL0
8oz kit ($13): http://amzn.to/2jZSRTe
16oz kit ($22): http://amzn.to/2jZtD2w
Buy in bulk to save money, if you plan on making a lot of coasters!
The blog post I followed really didn’t miss anything, so I’m not going to elaborate much. Just make sure to be patient and follow each step carefully, allowing enough time for the tiles to dry between each step. Don’t rush this! Here’s the post again:
Homemade Gifts Made Easy – How to Make Coasters
Have fun and enjoy your beautiful coasters!
As always, don’t hesitate to post any questions or comments! I’d love to hear how your coasters came out and what images you used on your tiles.

One thought on “Make (Baseball Stadium) Photo Coasters + the BEST coaster procedure”